

How To Create Subtitles In Premiere
The caption and subtitle workflow has been greatly improved in Adobe Premiere Pro 2021. Follow these quick and simple steps to add professional quality captions or subtitles to your videos.
Create New Caption Track
- Click on Captions Button at top
If it is not visible, go to Windows > Workspace > Captions.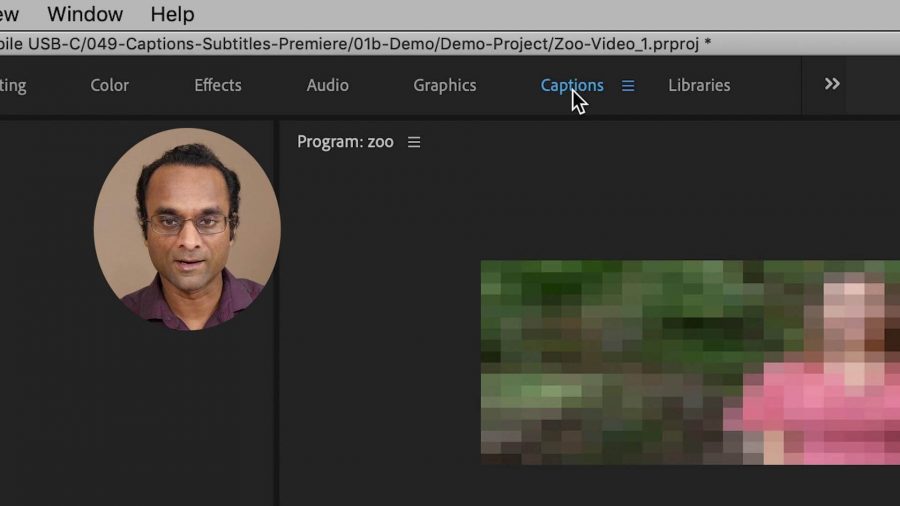
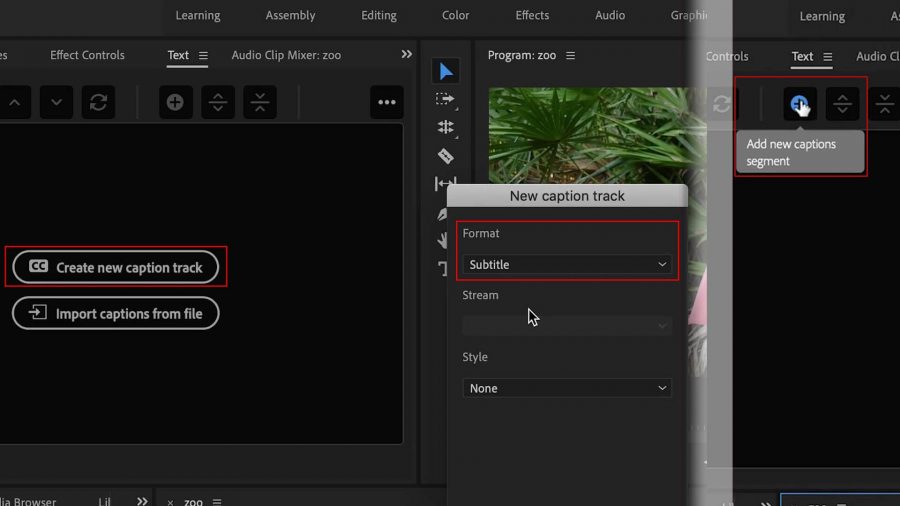
- In the Text panel, choose Create New Caption Track button.
- Choose Subtitle or Caption
- Click on Plus sign button.
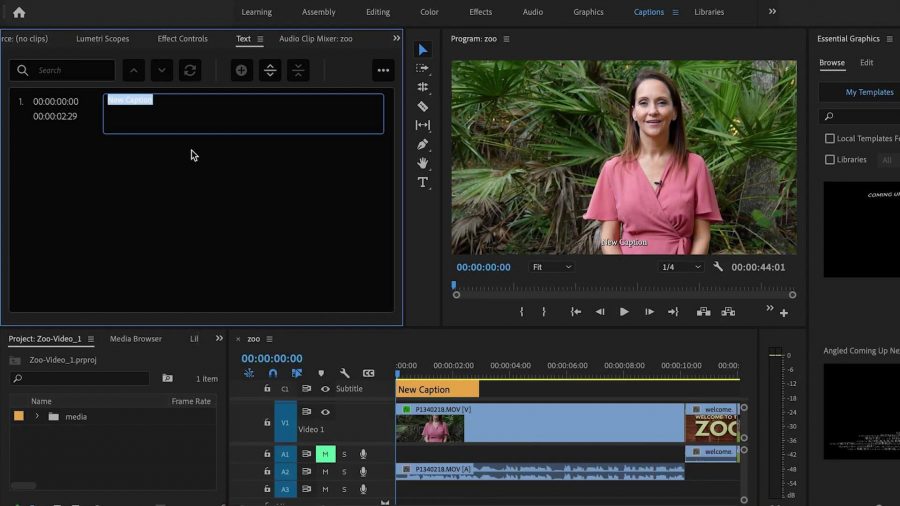
- Manually type text. It will become a segment in your timeline.
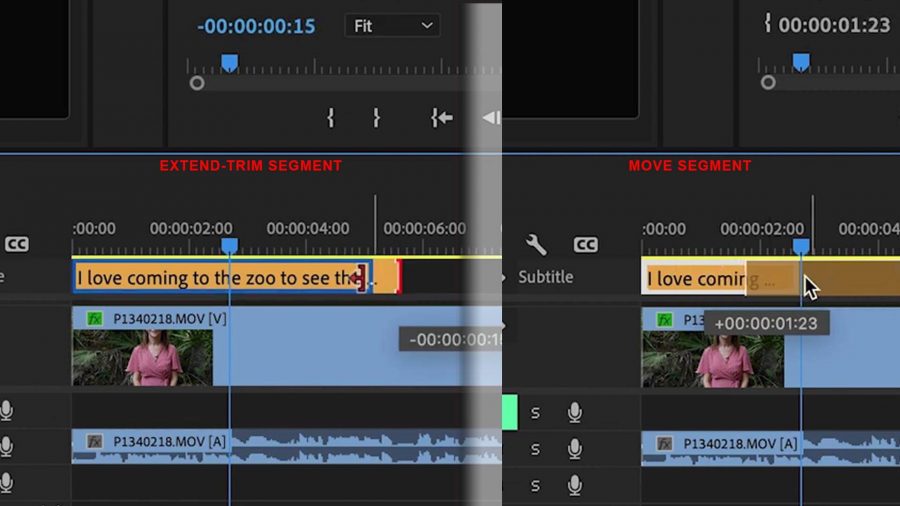
- Extend and trim the caption with click and drag of the segment edge, and move the caption as you move all other segments with click and drag of entire segment.
- Create another caption by moving the playhead (blue line) to the end of the caption segment, click in the empty area, then click on the plus sign.
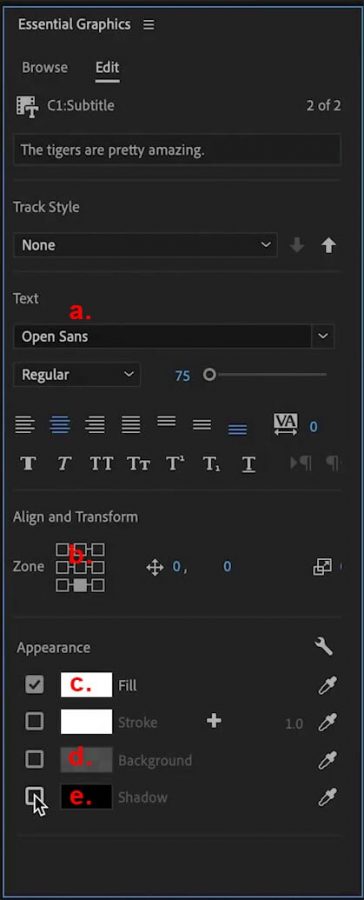
Change Caption Appearance
- Select a Caption segment.
- In Essential Graphics panel (which should already be open), you can:
a. Change the font size and type
b. Change the position by choosing a zone, and fine tune location within the zone by adjusting the numbers
Note: Usually Subtitles are placed at bottom center of videos.
c. Change the color of the font, with the Fill tool
d. Add Background by selecting background color, opacity and how much space appears around text.
e. Add Shadow (which improves visibility of the text)
Change Appearance Through Entire Timeline
- Go to Essential Graphics Panel > Track Style
- Change to Create Style
- Name it, if you want to.
- Click OK
This will set the style for all your caption segments in your video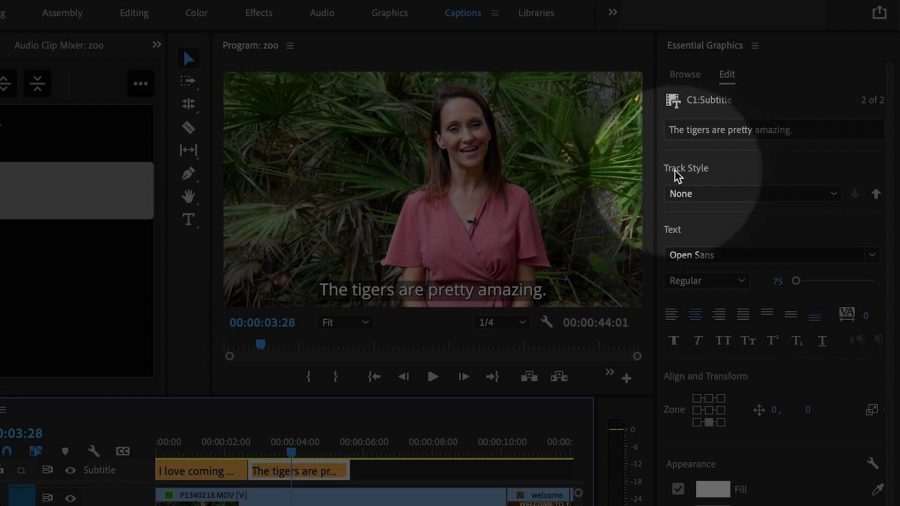
Importing Captions Created Separately (Importing SRT file)
- Click File > Import.
- Choose your srt file.
- Click Import
- Find it in your Project panel.
- Drag it into your timeline.
- Choose when captions will start.
a. Source timecode – indicate time on track
b. Playhead position – where Playhead (blue line) is placed
c. Timeline start – beginning of video(Insert start time)
- Hiding and deleting an existing caption track is the same for all other tracks:
a. Hide – click on track, click on eyeball icon, track will be grayed out
b. Delete – right-click on track, choose Delete Track
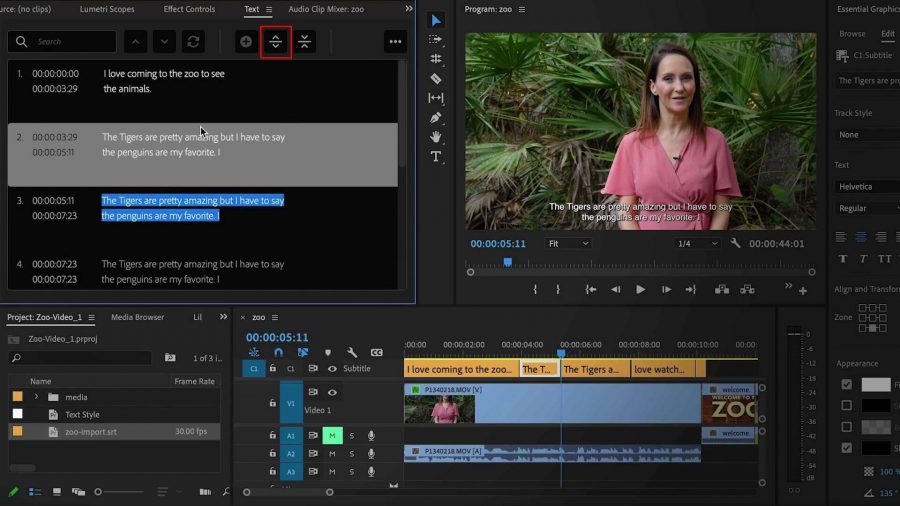
Modifying Segment Text
Split text into two segments:
- Select the segment.
- Split it with the Caption Split tool. This will duplicate the entire text field
- Edit the text manually to split between two segments
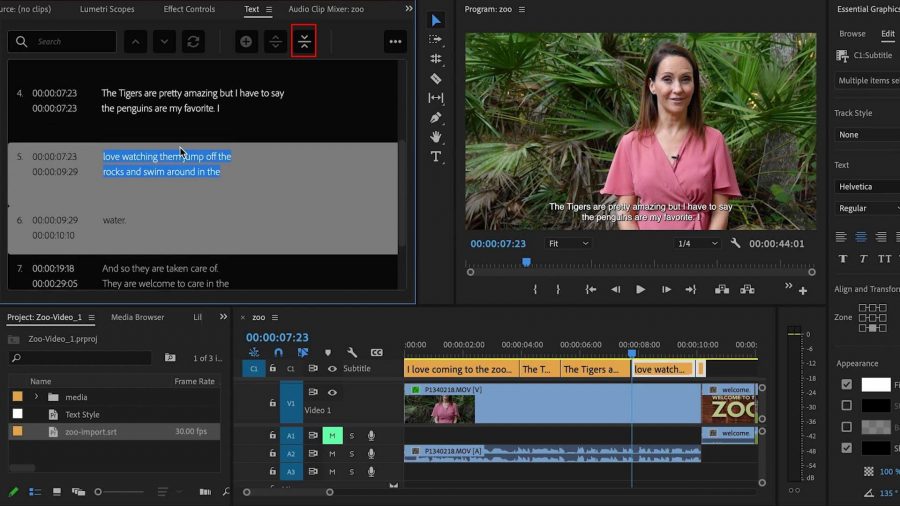
Merge text into one segment:
- Select multiple segments.
- Click Caption Merge tool.
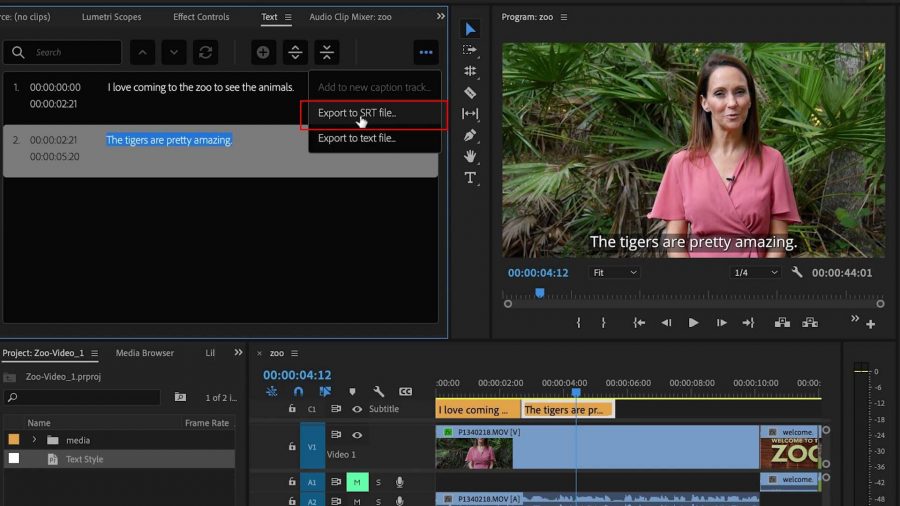
Export As SRT File
For YouTube you will export the video file and the srt file and upload them as separate files, to provide the option for viewers to turn captions on or off.
- Click the three dots at the top of the text panel (if not visible increase the panel size)
- Click Export File > SRT file
- Choose a folder and name the file.
- Click Export
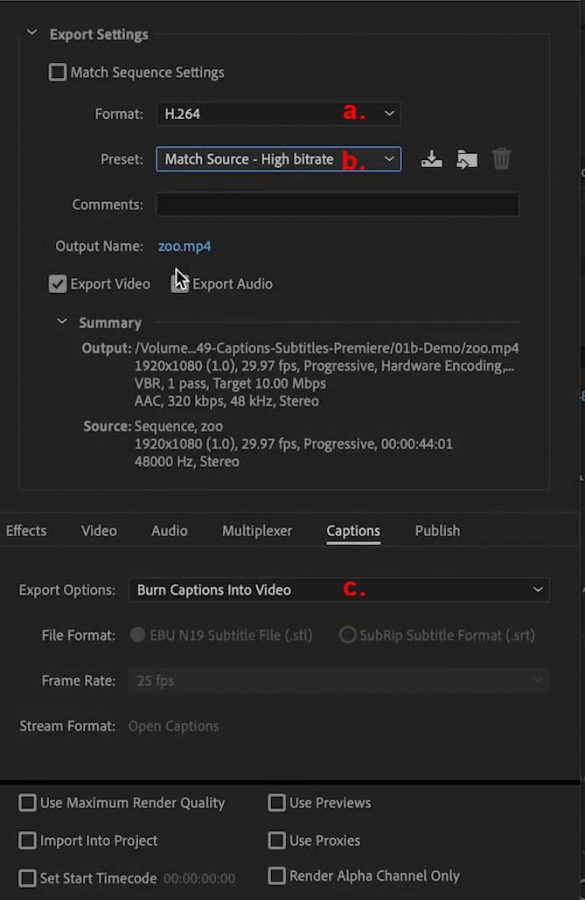
Burn SRT File Into Video
For social media sites like Facebook, Twitter, Tik Tok, etc. burn the captions into the video. This will result in one MP4 file with captions and no way to turn them on or off.
- Click anywhere in the timeline.
- Go up to File > Export media
a. Format: h 264
b. Click Preset > Match Source – High bitrate
c. Captions tab > Burn captions into video - Click Export Button
 Leave a comment if this tutorial was helpful, or feel free to ask questions. If you would like to keep up to date on my tutorials, please click on the subscribe button on my YouTube channel.
Keep learning and growing!
How To Create Subtitles In Premiere
Source: https://webguru.info/videos/improved-workflow-captions-subtitles-adobe-premiere-pro-2021/
Posted by: hiserotile1968.blogspot.com
0 Response to "How To Create Subtitles In Premiere"
Post a Comment